The Girl With The Dragon Tattoo – OpeningTitle Sequence

Inside the Ooze

Conjuring up gooey blood-like fluid dripping and splashing off a stunningly-cool dragon, melting Rooney Mara’s head into an oozing mass and ripping Daniel Craig’s head apart in a violent blood spatter are the rare opportunities that every fluid fx artist dreams of. So when Blur Studio asked for Fusion’s cg fluids expertise in David Fincher’s ground-breaking title sequence for The Girl With The Dragon Tattoo, there was no shortage of ‘woops’ from the team. When one of Fusion’s artists, Matthew Benson, got assigned the shot where Blomqvist’s head gets ripped to pieces, his response said it all: “You mean I get to crush James Bond’s head? Right oooon!”

Of course the usual pre-project excitement was quickly followed by the sobering reality of actually having to execute creative director, Tim Miller’s unprecedented vision — the fluid sims had to work with Blur’s meticulously beautiful, but violently-moving character animation, so the fluids had to be tightly controlled while maintaining a natural behavior, and just about all the shots were extreme close-ups — the “ECU” being the typical nightmare scenario when it comes to cg fluids. And of course there were the usual sort of technical challenges, which really turn Fusion VFX Supervisor, Mark Stasiuk’s crank…. in a good way. The fluid elements would be created with RealFlow, as it provides a stable, high-speed fluid solver that allows the user to integrate custom controls and outputs data in a format that is so standardized that virtually any vfx studio’s pipeline can take in without batting an eyelash. Even so, Mark would have to develop custom behavior technology to make the fluids look & behave the way Miller and Fincher envisioned.

The “headrip” shots were the goriest, so definitely an effects artist favorite — check out the playblast below from one of the early versions where things got just a little… shall we say, “enthusiastic.” Getting this spectacular blast of gorgeous liquid splatter ‘out of our system’ was important so we could zero in on what would work best for the sequence.
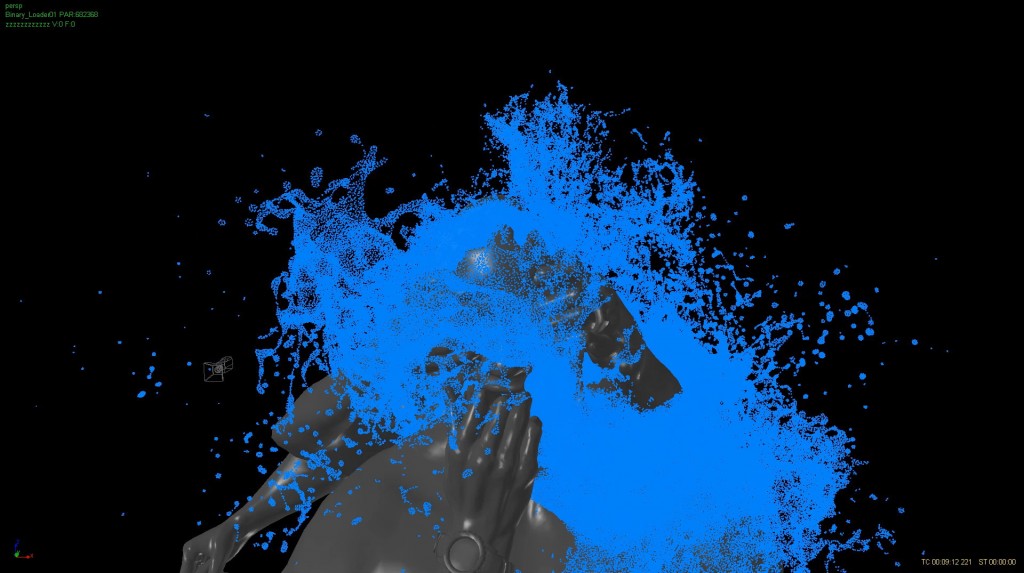
movie: http://www.fusioncis.com/press/gwdt/headrip.mov

Mark’s favorites were the shots called “hothands” and dripsOnDragon”, because they involved a lot of new and interesting fluid behavior development.

For the dripsOnDragon shots, Fusion had to complete the apparently simple task of getting the dragon wet, as it had just emerged from Salander’s back. The fluid was to be dripping down and flinging off the dragon. Making the dragon’s geo wet was fairly straightforward because Fusion had developed a “wetting” technology for past projects that creates SPH fluid particles in an even coating on parts of geometry selected by an artist. In this case, we married the wetting technology with Fusion’s “smorganic” tool suite, while adapting smorganic so the wetting fluid would inherit the motion of the specific part of the geometry it was closest to. More on Fusion’s “smorganic” technology here: http://www.fusioncis.com/pr_smorganic.html

Normally if you throw fluid on some geometry and then start the part of the sim where the geo moves, the fluid will just fall off. In this case, we needed the fluid to inherit the geo’s motion for some short period of time and then be released, allowing it to be flung and so develop a more exciting performance. Two of the nicest examples of this are sims done for a shot focusing on the dragon’s head:

Fluid off dragon’s head:
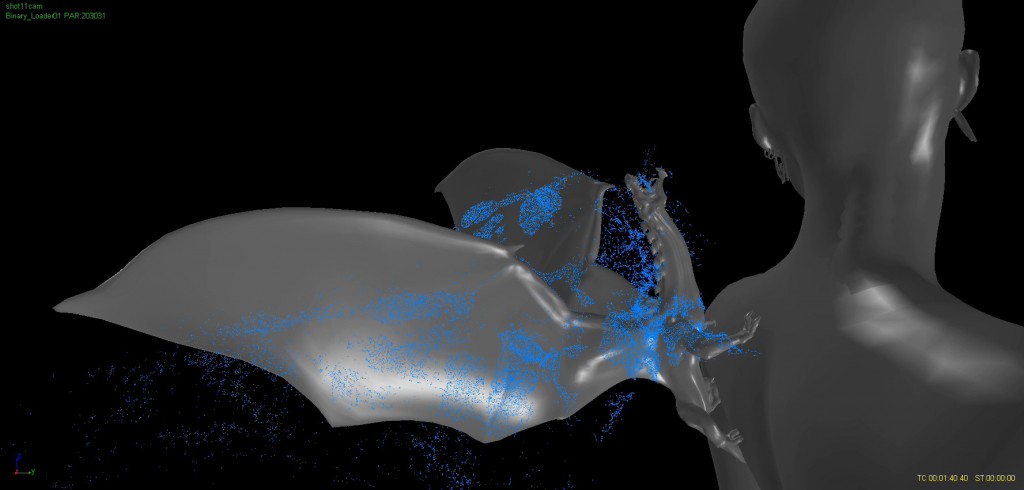
movie:  http://www.fusioncis.com/press/gwdt/dripsOnDragon_head.mov

And off the dragon’s wing:
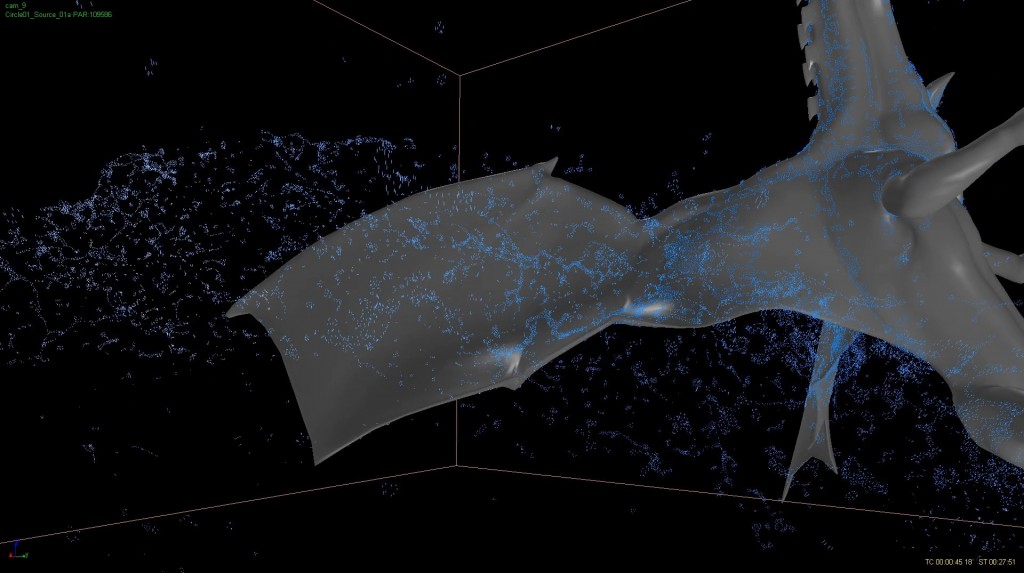
movie:  http://www.fusioncis.com/press/gwdt/dripsOnDragon_wing.mov

For both of these you can see how the initial inheritance of the geometry’s motion near each bit of fluid gives the overall fluid behavior a much more interesting and performance-connected feel. Add to that a subtle application of smorganic to allow droplets of fluid to elongate slightly, and you get both interesting behavior, and interesting, widely variable fluid shapes instead of just swarms of individual fluid beads.

In the case of the “hothands” shots, we needed a few entirely new technologies to get the shot done the way Mark wanted it to work. In these shots a set of hands converge on Salander’s head, and then start grasping at her face. But when the hands meet her face, it’s like the fingers are hot iron and her face is wax, so the fingers sink in and her face melts and surges upward slightly, squeezing between the fingers.

To do this, we had to create a semi-fluid version of Salander’s head by filling the animated head geo with fluid in RealFlow, and then used a targeting Python script that moved the mass of fluid with the Salander head’s motion. Fluid continued to move with the head until it was “melted”. Melting happened initially thru direct contact with any of the hands, and after that the heat effect was conducted thru the fluid using a proxy parameter for a random-walk diffusion. Once fluid was melted, a time-varying vertical force was applied to surge or gurgle it up thru the fingers, before letting it be pulled back down by gravity. In order to keep the fluid silky smooth, we also applied smorganic. The fluid sim results for the whole length of the animation are shown here with the hands visible:
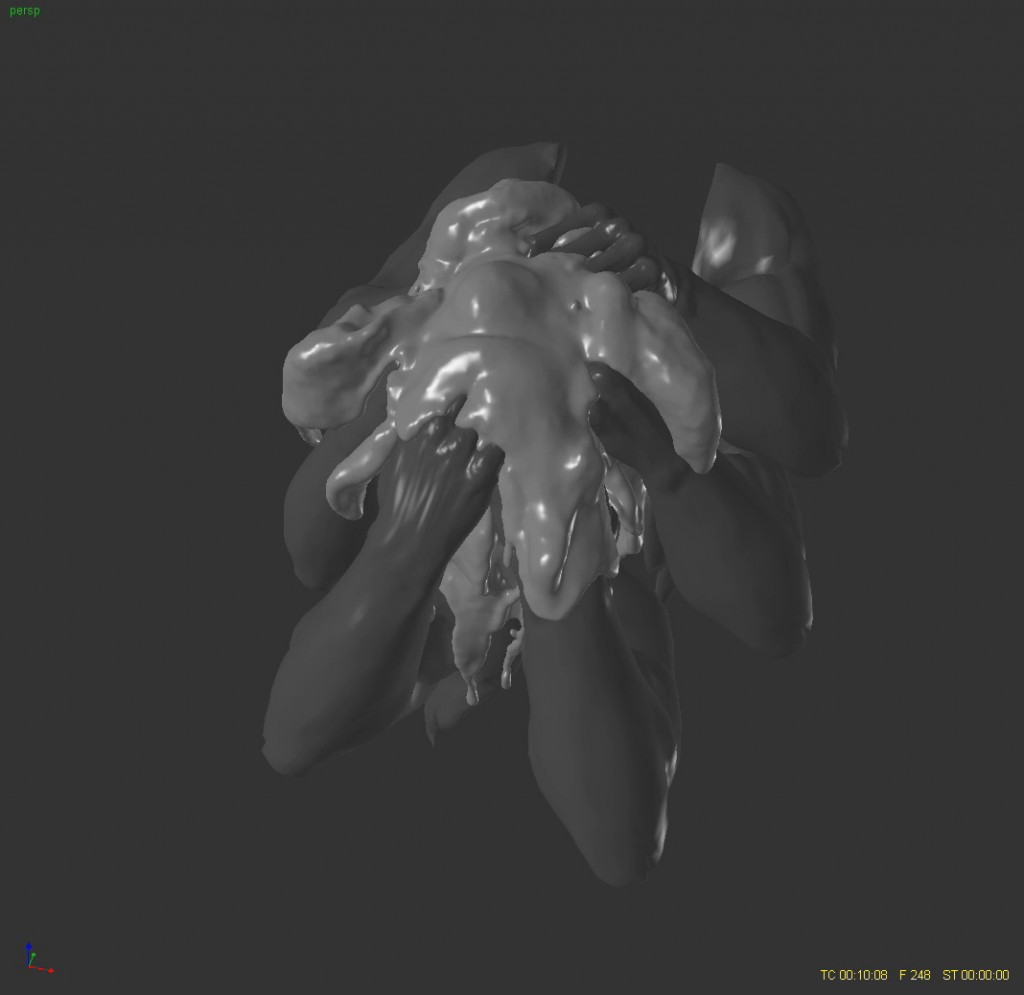
movie:  http://www.fusioncis.com/press/gwdt/hothands_WithHands.mov

And with the hands hidden:
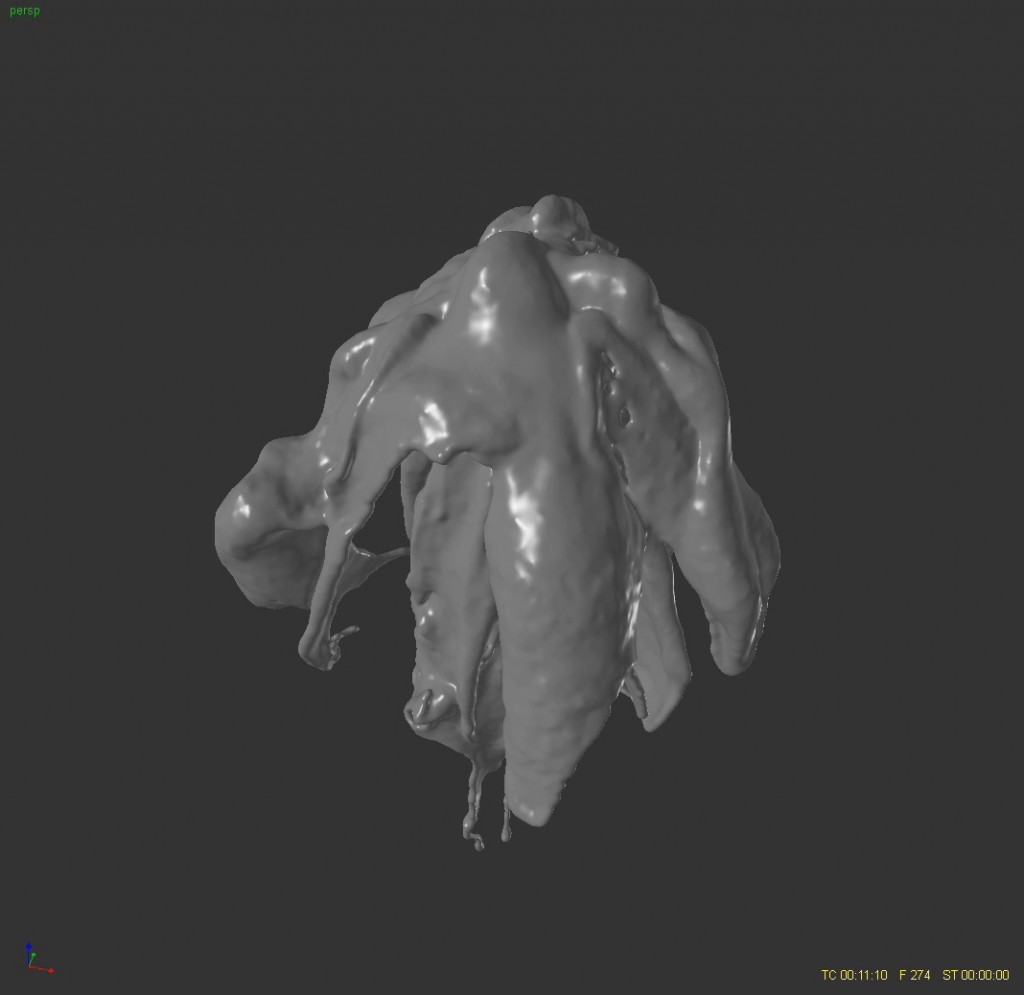
movie:  http://www.fusioncis.com/press/gwdt/hothands_NoHands.mov

And finally from one of the close-up shot cameras:

movie:  http://www.fusioncis.com/press/gwdt/hothands_cam10.mov

As with most of Fusion’s fluids work, we relied heavily on the capabilities of RealFlow. The tightly integrated scripting control is a fundamental feature that allows us to achieve specific behaviors and take our fluid effects to a higher level even on short production schedules. When combining RealFlow’s native capabilities with Fusion’s custom plug-ins, and high-quality vfx like Blur’s gorgeous modeling, animation, lighting and virtual camera work, you get a magic formula for outstanding visuals like The Girl With The Dragon Tattoo title sequence!  http://www.youtube.com/watch?v=tcp9Ysi75f0
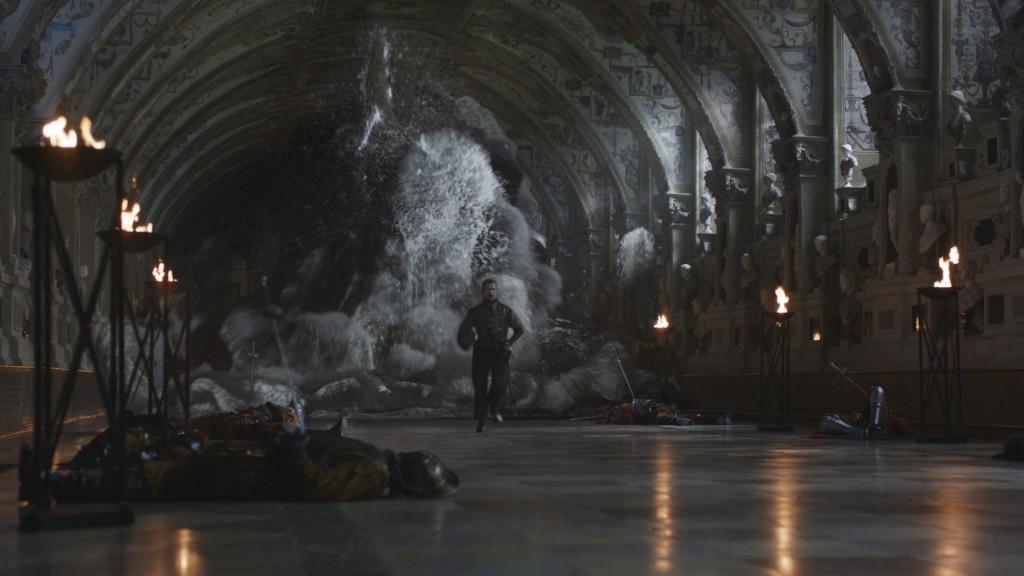
Fusion Creates Watery Escape Route for The Three Musketeers!

While under attack, the Musketeers steal Da Vinci’s plans for a flying war machine from deep inside an underwater vault in Venice; the scene climaxes in an explosion blasting a ‘big water’ escape route! Fusion CI Studios, LA, created the fluid simulations for Mr. X, Toronto, who rendered & finished.
 

The scene: http://www.fusioncis.com/press/threemuskateers/3M_VV_SEQ_h264.mov

The fluid simulations were created using RealFlow and various in-house plugins developed by Fusion’s vfx supervisor, Mark Stasiuk.  Fusion received Maya scenes from Mr. X with the solid geometry, and the geo was then simplified for export to RealFlow.  In general, the fluid sim work was done by creating a number of passes – core water, splashes, foam, spray and included post-processing using custom Python algorithms.  Fusion then passed the RealFlow data sets to Mr. X via ftp and did reviews of the playblasts of the simulations using cinesync.  Consultation and technical support was provided on various aspects of the render – Fusion provided wetmaps and custom foam passes that would work with Mr. X’s rendering technology.

The workflow at Fusion starts with fluid behavior look-dev, using low-detail fluids for faster sim turnaround times, and run in parallel with the development of in-house technologies custom to the project. As the behavior gets close to the creative target for each shot, the fluid detail is increased and versions of the data were passed to Mr.X to start lighting development. The tail end of the project was highly collaborative, with Mr. X’s lighter, Ayo Burgess, and VFX Supervisor, Dennis Berardi, providing feedback and Fusion responding with revisions and added layers of simulations.

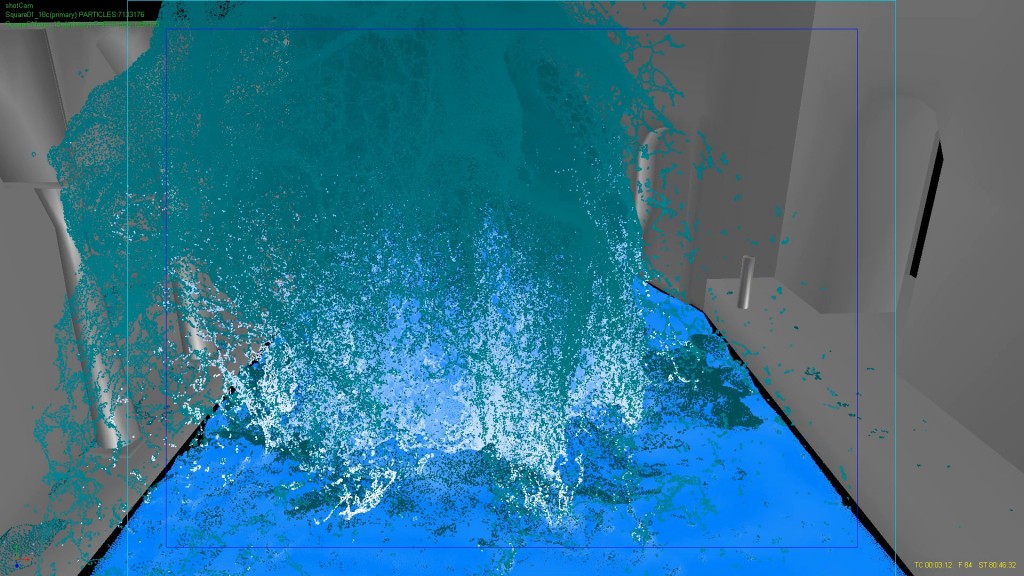
In the first shot (VV300), where the explosion is triggered in the subsurface vault wall that lets the water from the Venice canal flood in, Fusion filled canal geometry with high res SPH fluid particles. The huge volume of the final sim (around 10 million particles) was needed to achieve the right level of detail and sell the scale of the shot. This kind of shot would seem to be perfect for applying RealFlow’s voxel-based grid fluid solver, but the grid fluid has a slightly different behavior which becomes particularly evident, and particularly non-water-like, in a shot like this where the water first bursts up and out, straight toward camera, so we fell back to the SPH solver. The same sims when run using the grid solver generated long, unrealistic ‘ropes’ of fluid in the explosion phase. Sim times for low res fluids were a very reasonable overnight, but once at the high res level, this stretched to around a week. However, by the time Fusion was running hi res sims, the results were already approved by the director and it was just a matter of getting in the extra detail to sell the scale of the body of water. The initial explosion was created using a combination of expanding spherical negative attractor fields, noise fields and a vertically directed jet force, followed by a vortex to pull and spin the fluid downward.

For the initial shot Fusion generated a number of passes of foam and spray as post-process sims, as well as running a post-process to create wet-maps on the geometry to allow Mr.X to add wetness wherever the water splashed on the buildings. For these post-process tasks Fusion used its in-house tools, giving us the ability for extreme control on the results.  For example, for the foam pass, water particles were converted to foam particles based on a combination of exceeding a threshold speed, impacting geometry and height in the water column, and converted back to water after particle speed dropped below a critical threshold for a long enough period.

http://www.fusioncis.com/press/threemuskateers/vv300_core_foam.mov

This movie shows both the water and foam particle sets for a near-final version of the simulation.

The capability of RealFlow to use Python scripts at many points of its calculation pipeline is a feature of fundamental importance to this kind of fx work.

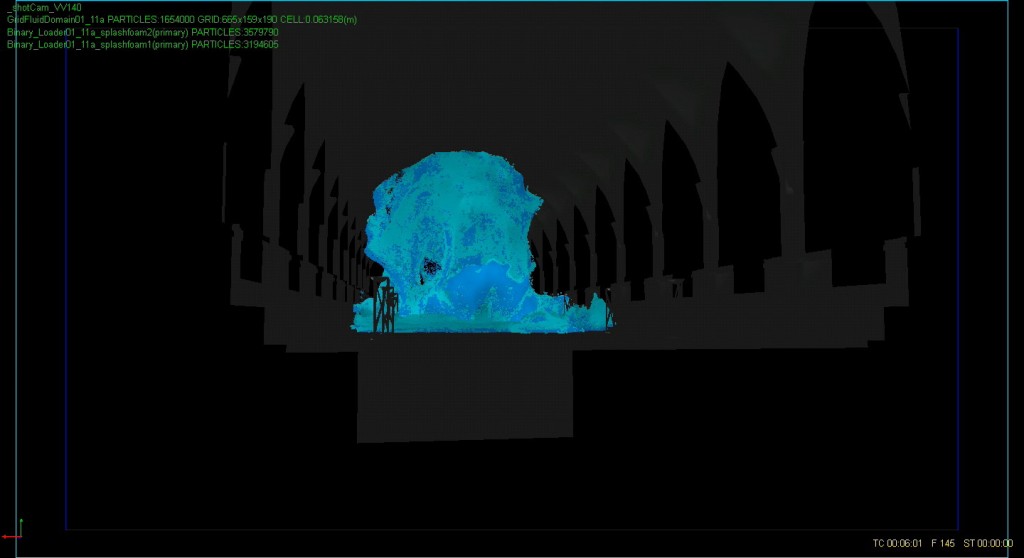
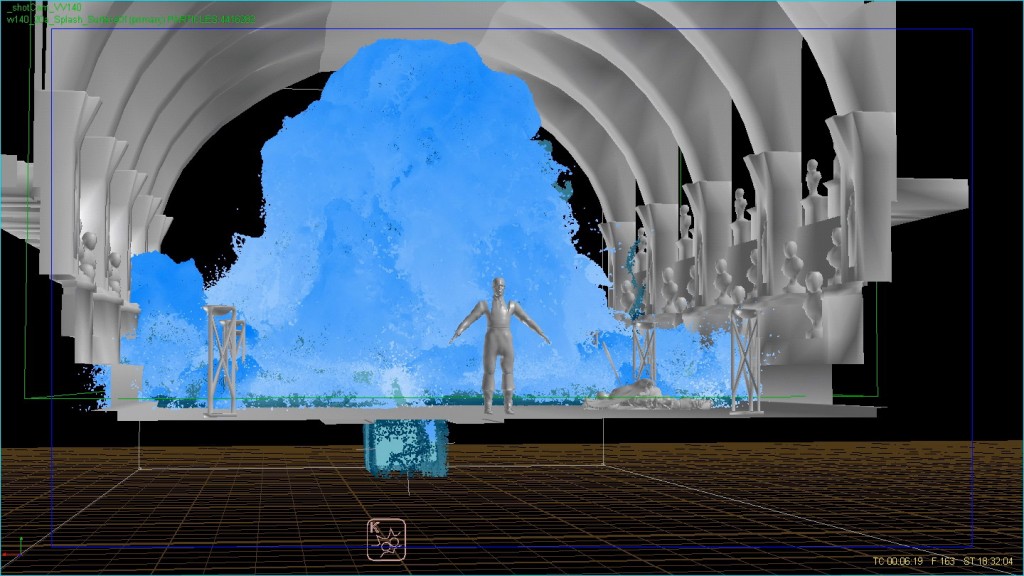
In the next 2 shots, where the water first geysers into the vault (VV140) and then floods it entirely while wiping out the bad guy (Cagliastro), Fusion used RealFlow’s grid solver to generate the core fluid behavior. Once the core fluid was simmed with the right behavior and timing, the team at Mr. X tweaked the animations of objects in the scene that needed to respond to the water, such as the corpses of the guards on the floor and the torch stands at the sides of the vault, as well as the digital double of Cagliastro after the point of impact. The tweaked animation was passed back to Fusion for a final run of the core water so it would respond correctly to the solid geometry.

Once the core water was finaled, Fusion used the native foam and splash emitters to emit SPH particles from the grid fluid as post-process sims.  RealFlow’s splash and foam tools work very well for this purpose, and have the advantage of giving you the ability to control the areas from which the splashes and foam are generated so artists could break the sims up, covering different sections of the flood if necessary. In the case of vv140, where the geyser first appears, it is small enough that it wasn’t necessary to break up the foam and splash generation but the controls on the secondary emitters also give great ability to distribute the secondary fluids where you want them.

http://www.fusioncis.com/press/threemuskateers/vv140_core_foam.mov

This movie showing a well-advanced version of the vv140 core water (although the geyser shoots too high, too early), you can see the natural distribution of foam particles that are triggered by threshold radius of curvature in the core water surface.

The foam and splash fluids were set at very high detail level (fluid resolution), and it was really these particles that gave the flow it’s high detail look because grid fluid in general suffers from a lack of detail, even when the voxel size is very small. However with the splash and foam emitters, just about any level of detail was possible to achieve, and these dramatically improved the dynamism of the sims.

http://www.fusioncis.com/press/threemuskateers/vv140_core_splash.mov

This movie shows SPH splash fluid particles over the entire surface of grid fluid core water sim.

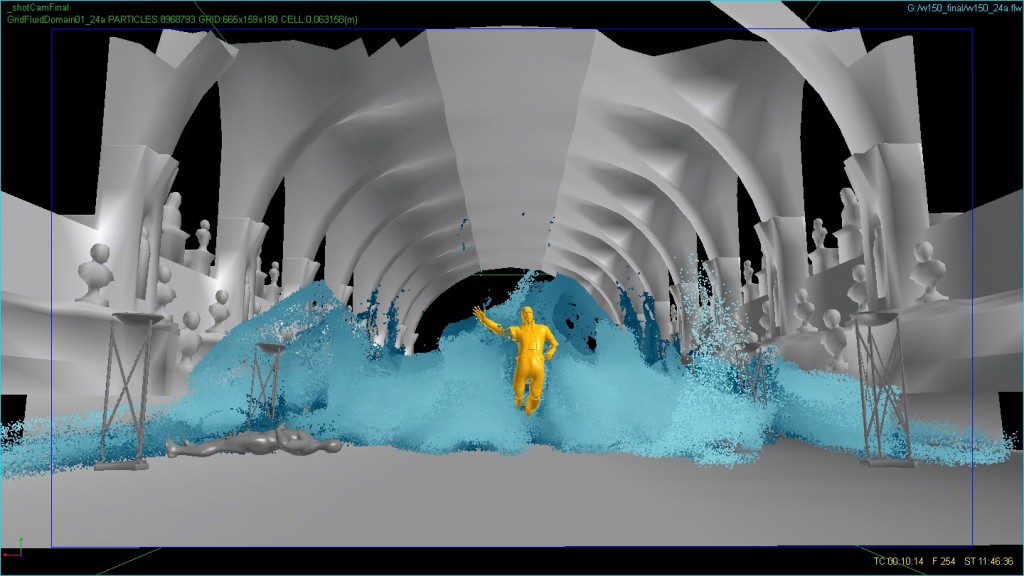
The SPH particles from the splash emitters were then themselves used as emitters to create huge masses of spray, where Fusion again went to its in-house tools because of their level of control.  The biggest challenge for the fluids work was the combination of art-directed fluid behaviors and the large scale of the fluid effects.  Fusion’s team is accustomed to dealing with art-directed fluids, but typically these are small scale, for example single splashes forming into art-directed shapes.  They’re also used to dealing with large scale water, but in those cases the creative goal is usually simply making the water behave as it naturally does and not specifically directing its behavior.  In TTM we had to create specific fluid behaviors that were also timed precisely to the action of the shots. i.e. for the initial explosion shot, Fusion created a carefully timed & shaped water explosion which then evolved into a downward sucking vortex, and that had to be done with a sim that became 10 million particles.  Similarly in the shot where Cagliastro is swept off his feet by the flood, the fountain of water had to behave in a specific way, filling the space but remaining behind the character, then striking the character at the exact time in the plate where the real actor jumps into the air. This was made more challenging by the fact this was a stereo project, so it wasn’t an option to do the usual cheats, like translating the water sim back behind him further in order to delay the impact. In this project, the 3D space had to be precisely accurate.

To make all these things happen, Fusion relied heavily on its library of in-house technologies which provide the sort of control that’s required for art directed fluid behaviors. In the vault flood shots, this involved script-controlled rigs of laterally-directed gravity fields to gently nudge the various parts of the sim back away from camera and the Cagliastro character (who starts off standing very close to the large geyser), done in such a way to not look like the water was hitting an invisible barrier.

http://www.fusioncis.com/press/threemuskateers/vv150_core.mov

The above movie shows the core water sim.  When viewed from the side it’s obvious that the flow is being held back until the appointed moment, at which point the forces reverse and the geyser and water on the floor are surged forward toward camera to flood the vault and hit Cagliastro.

Side view movie:  http://www.fusioncis.com/press/threemuskateers/vv150_core_test_LoReswTurb_side.mov

If you look closely at the side view movie you’ll also see evidence of another Fusion in-house tool, for generating turbulence. In general, whether you’re using RealFlow or not, SPH-based fluids as well as voxel-based grid fluids both suffer from a lack of true turbulent behavior, which is normally excluded from the solver for optimization purposes and because the fluids that are typically simulated are at the more viscous end of the spectrum and less likely to show obvious turbulence — say compared to violently moving gases such as fire and smoke, for example. The problem is that fast moving river-type flows should show turbulent flow motions or they just won’t look right, and end up moving in a boring, sludgy way like a plug of fluid sliding over a surface. The usual methods to combat this are to churn up the flow with a noise field or add in lots of obstacles to add more splashy interest to the motion, but still this doesn’t make for a realistic motion. In VV150 the flow on the vault floor, despite hitting all the bodies and torch stands, was still too much like a sliding mass, especially obvious when it approached the camera toward shot end. To get a more turbulent look, we add in a swarm of vortices that are connected to averaged flow-lines of the fluid, and apply scripted tools to control the animation of the swarm’s parameters. You can see in the side view movie how the flow along the floor churns rapidly as it is disturbed by the vortex swarm. The advantage of this method is that we can “inject” as much turbulence as the Director feels look good, rather than being stuck with whatever the fluid solver does.

One last word on the fluid sim work from a studio productivity perspective, relates to the comparative ease of use of RealFlow. Over the last couple of years, numerous new simulation tools have appeared, and we’ve been experimenting with them. But in our view one of RealFlow’s major advantages is the simplicity of its scene structure and controls, despite the advanced dynamics happening under the hood. Compared to most sim packages with endlessly nested dialogs and huge lists of blurrily defined parameters, RealFlow’s straightforward and flexible scene setup, and well-defined parameters is refreshing and makes it a place where fx artists can work productively, with low levels of frustration — and that’s very important in an environment where schedules are always shorter than we’d like. Anybody developing physical sim software should really have a close look at RealFlow to get some ideas on how it should be done!